Botkube Cloud App for Slack
The Botkube Cloud App for Slack uses Botkube Cloud services to manage channels and route executor commands. This allows multi-cluster support without a need to create a dedicated Slack application for each cluster. Events and alerts are sent directly from your cluster to your Slack workspace for reliable, fast notifications.
Prerequisites
A Botkube Cloud account.
You can try out the Botkube Cloud App for Slack for free by creating an account in the Botkube Cloud app.
Create a Botkube Cloud Instance with Cloud Slack
Go to Botkube Cloud Web App and click on
New Instancebutton.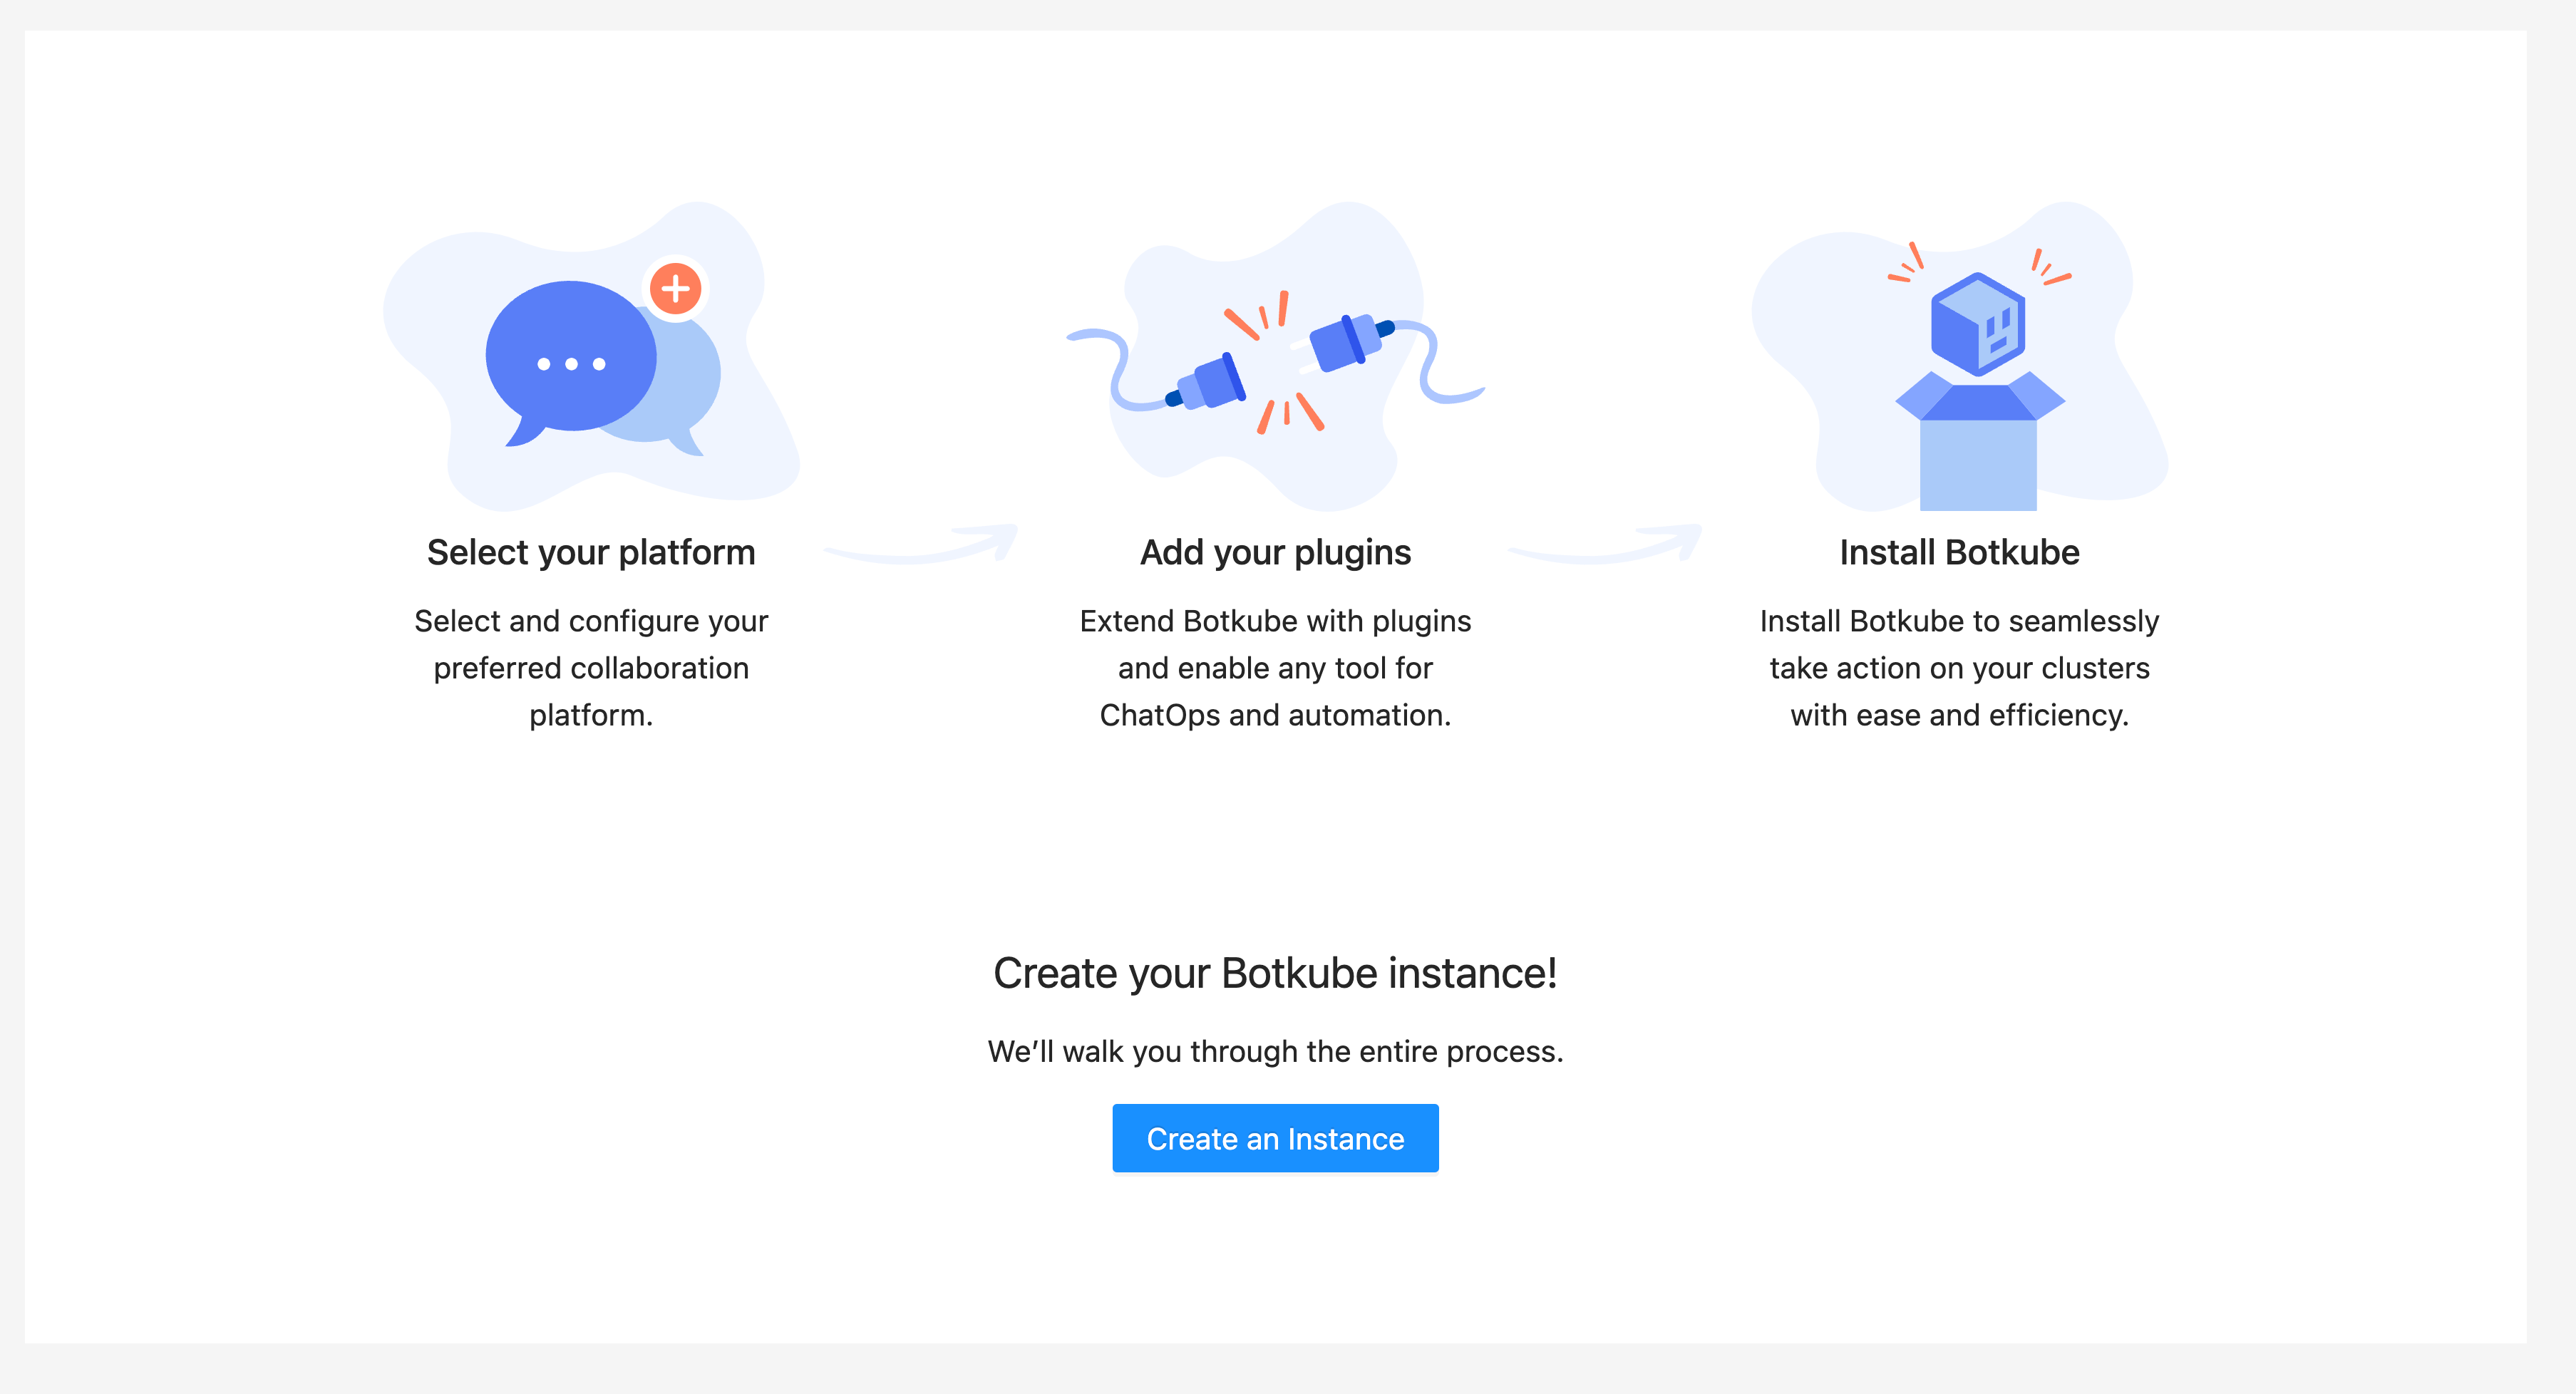
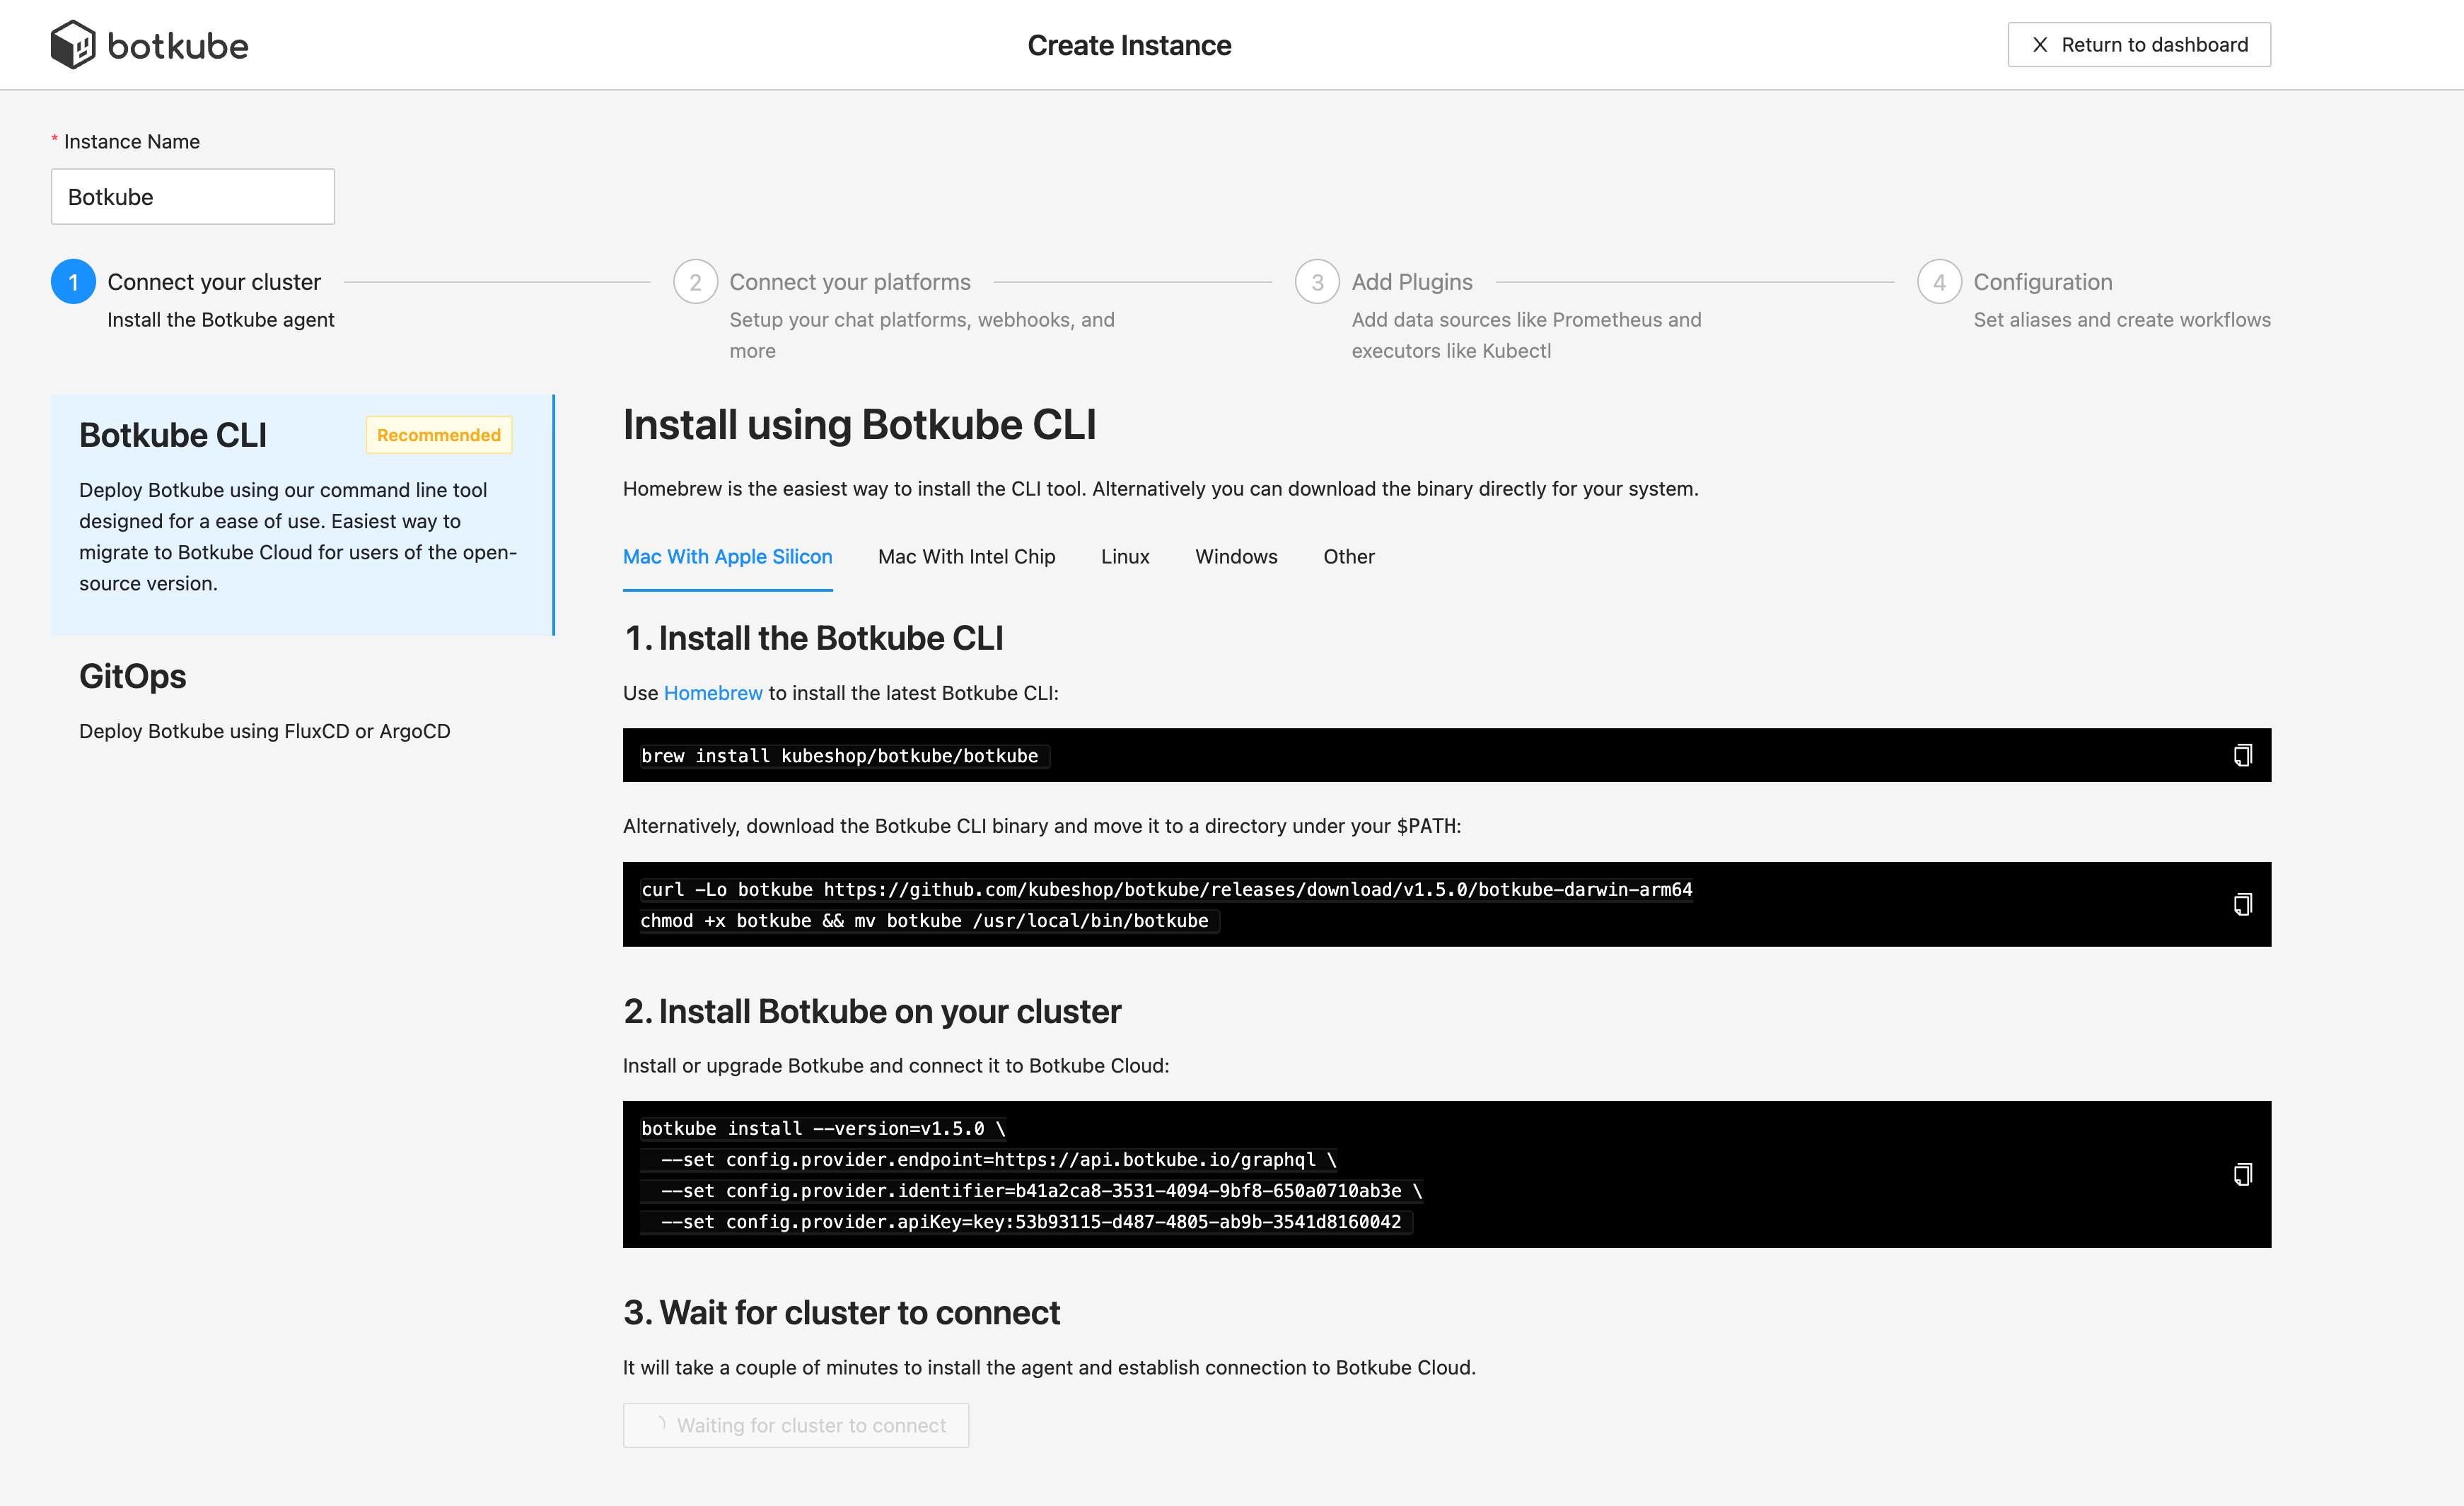
Install Botkube Agent on your Kubernetes cluster by following the instructions on the page.
Click
Add platformdropdown, and selectSlackoption.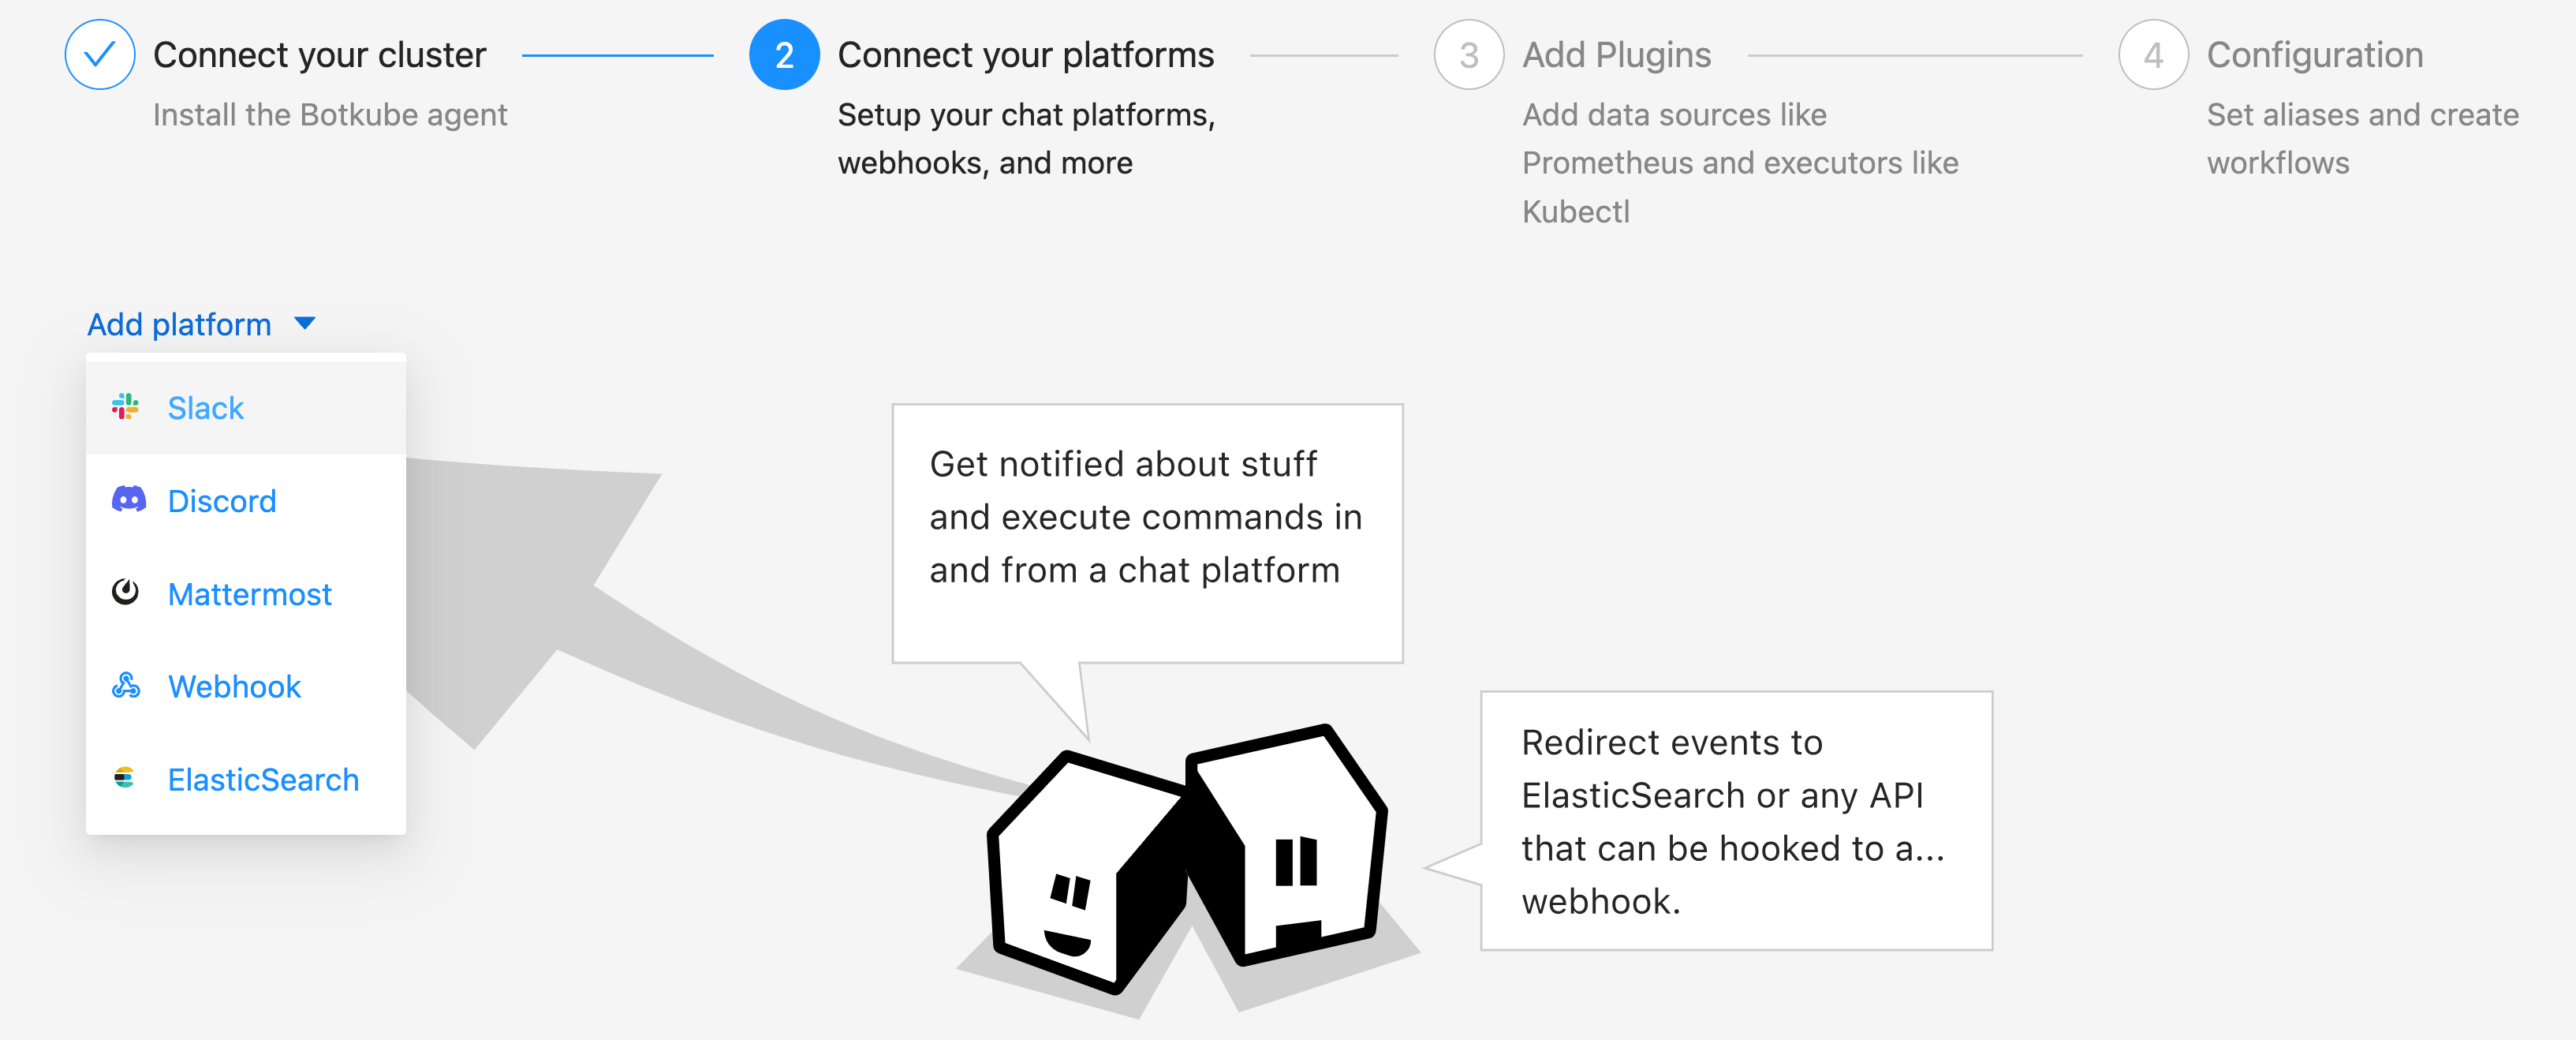
Click
Add to Slackbutton to add Cloud Slack integration to your Slack workspace.
Click
Allowto grant permission for Botkube app to access your Slack workspace.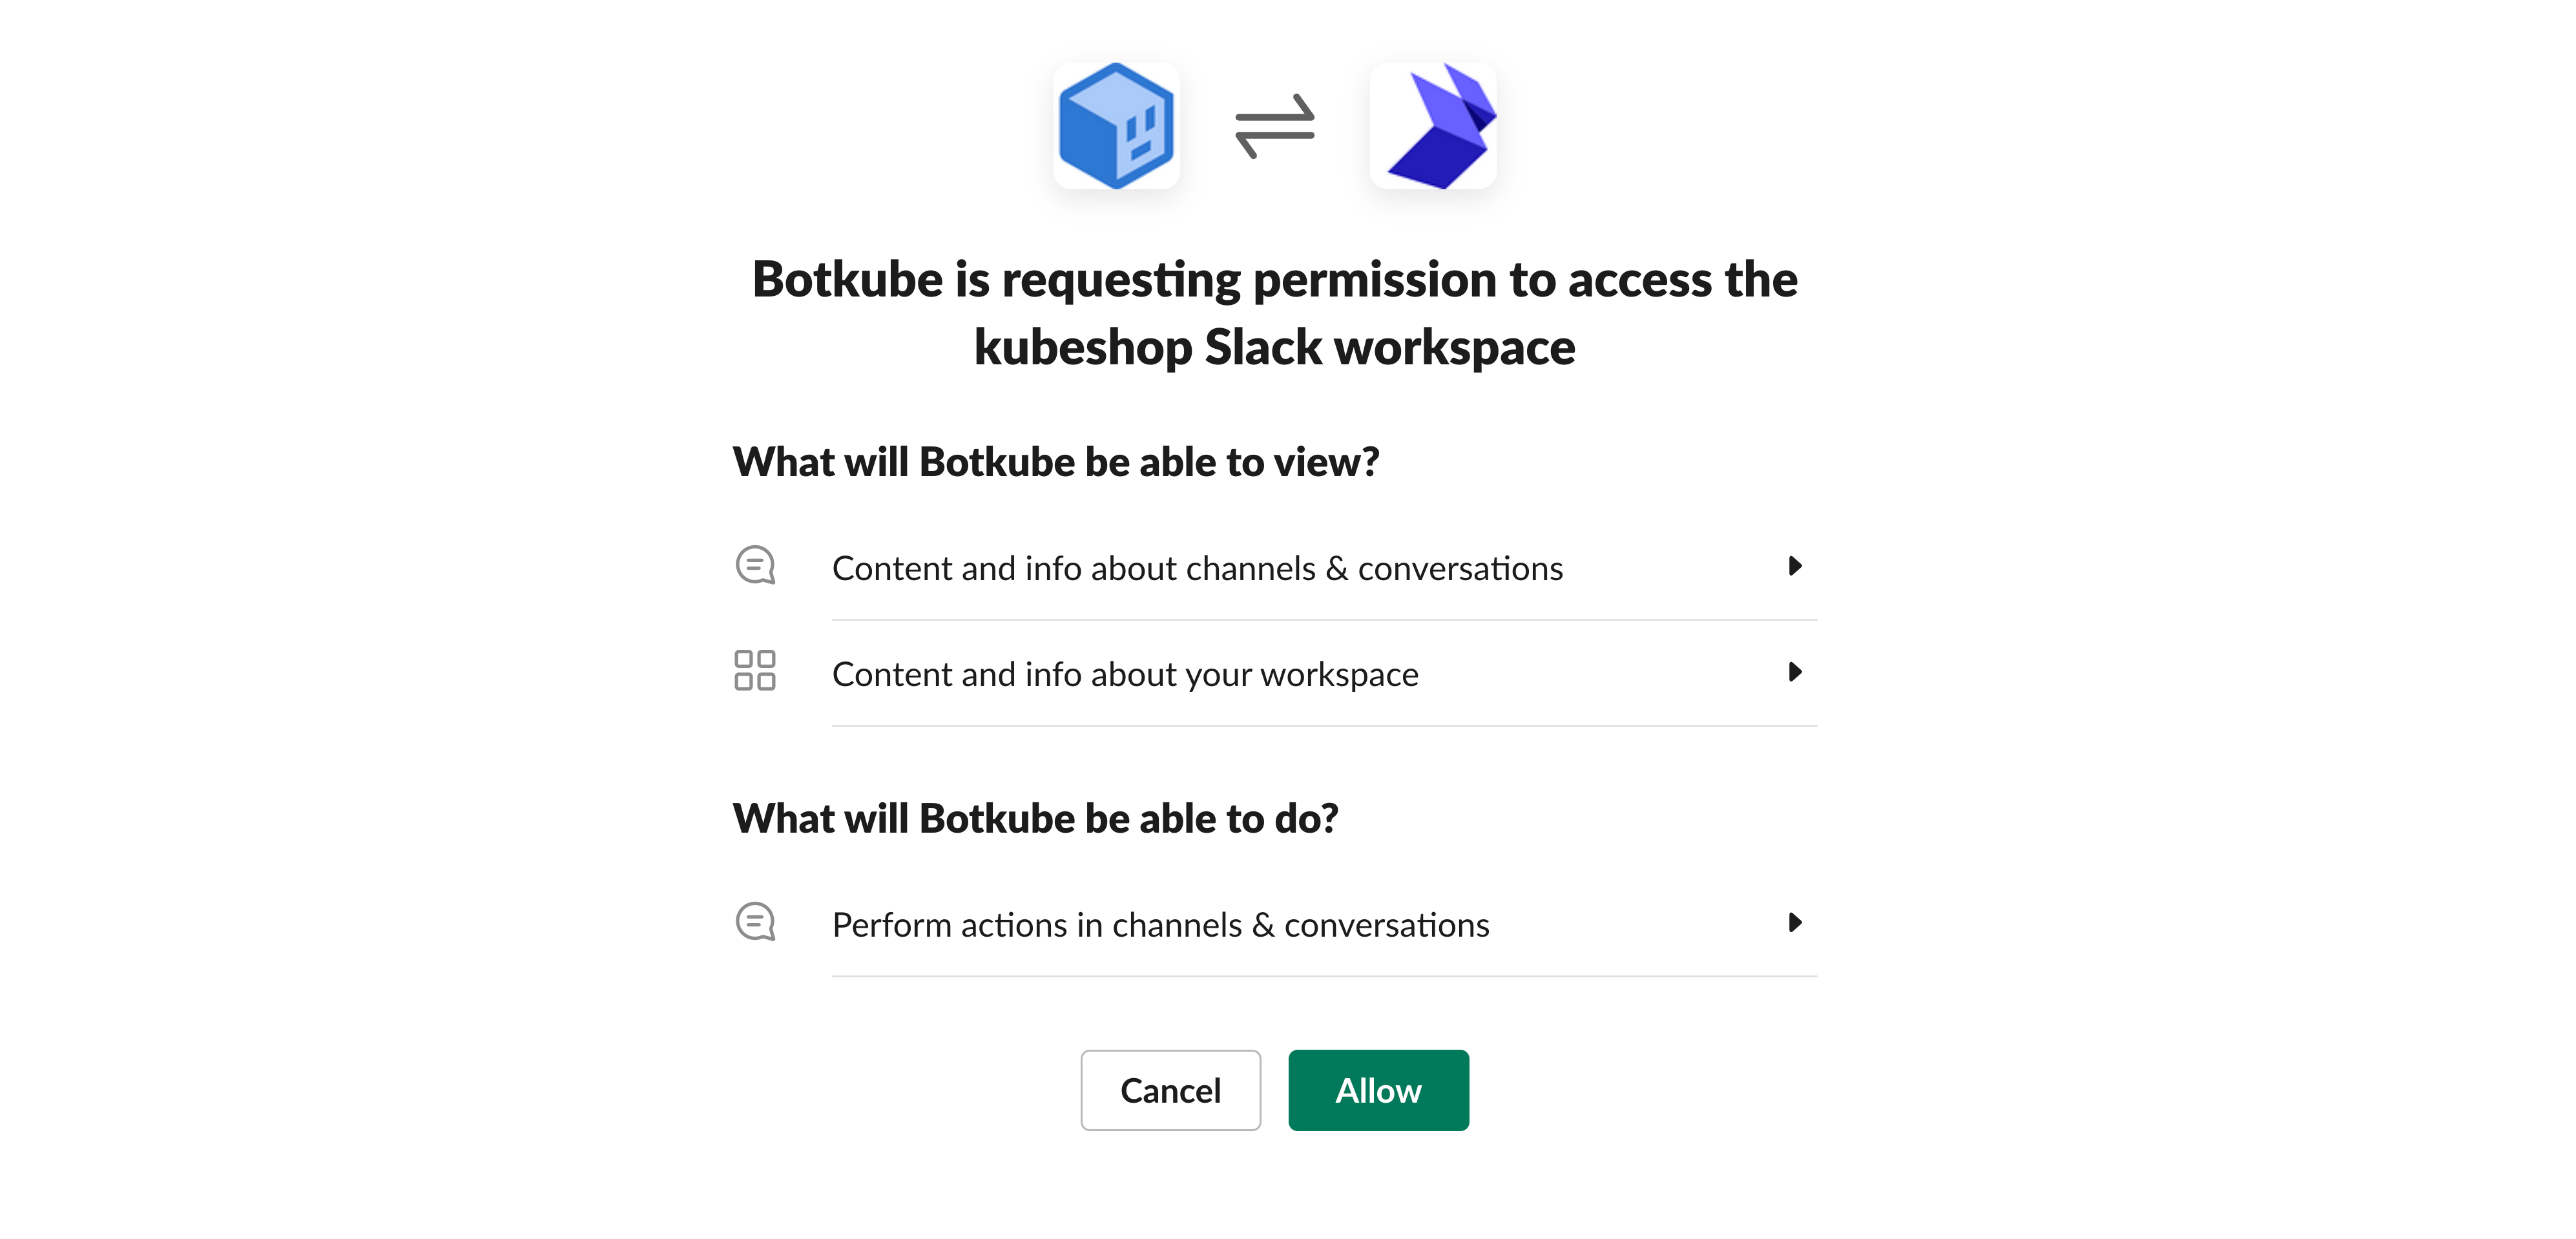
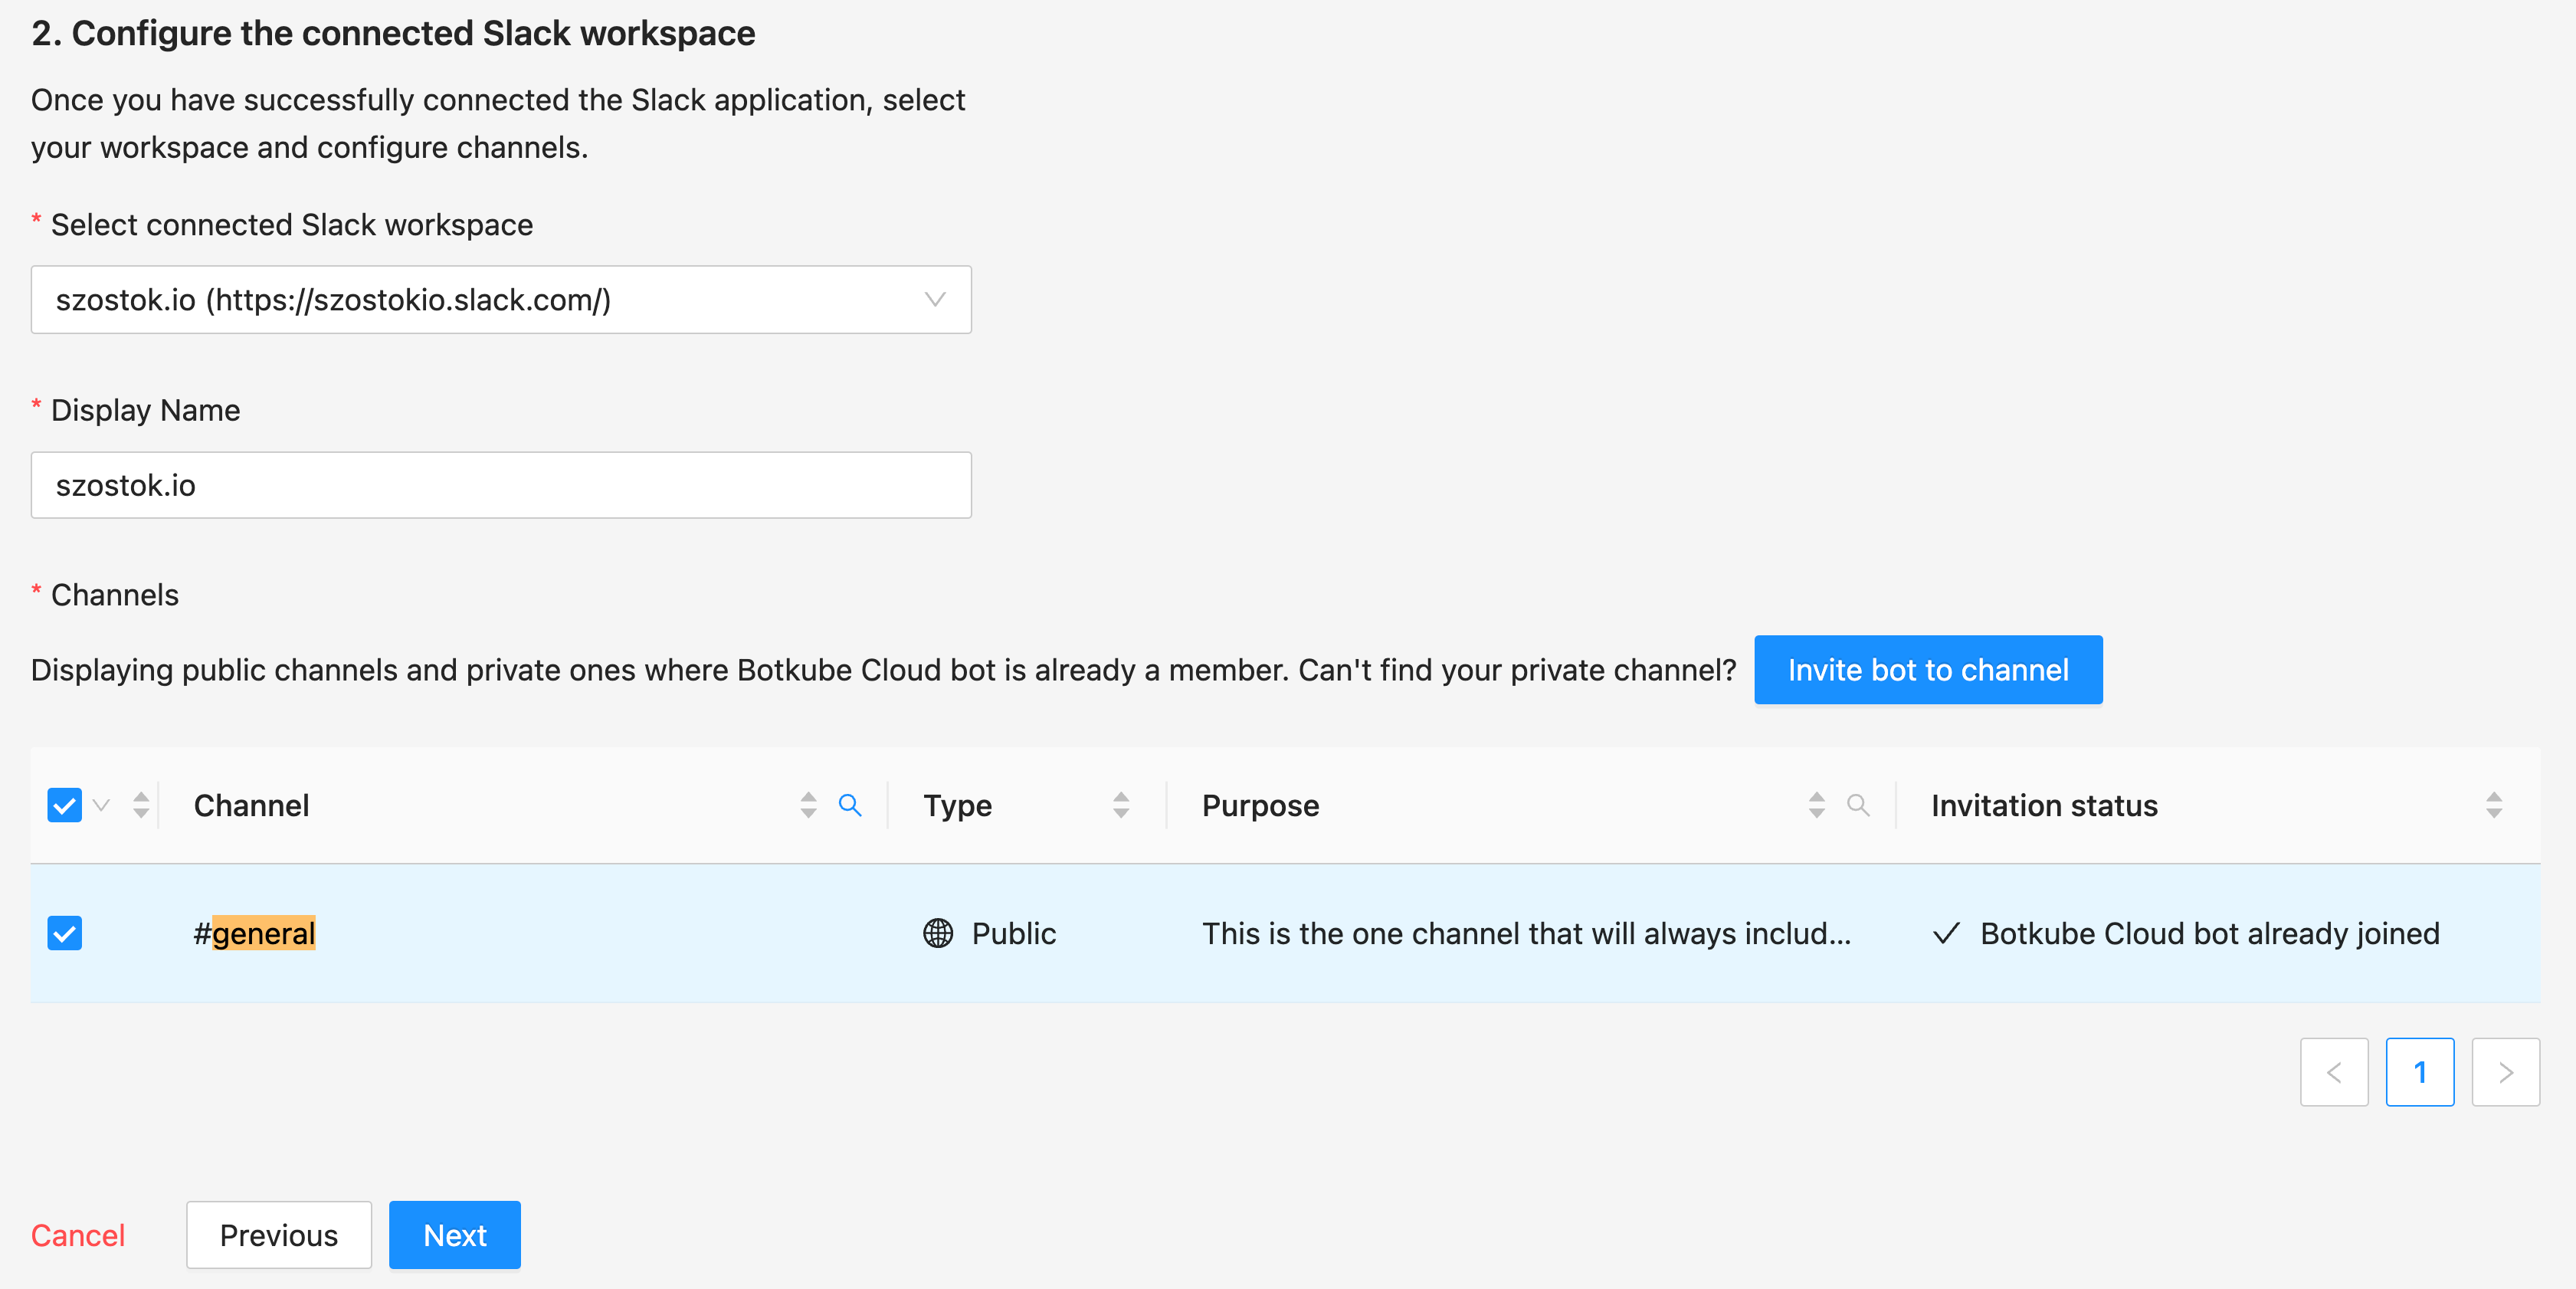
Provide the Slack app details as described follows and click
Nextbutton.- Connected Slack Workspace: Slack workspace that you granted permission in the previous step.
- Display Name: Display name of the Cloud Slack configuration.
- Channels: Slack channes where you can execute Botkube commands and receive notification.
Add plugins you want to enable in your Botkube instance and click
Nextbutton.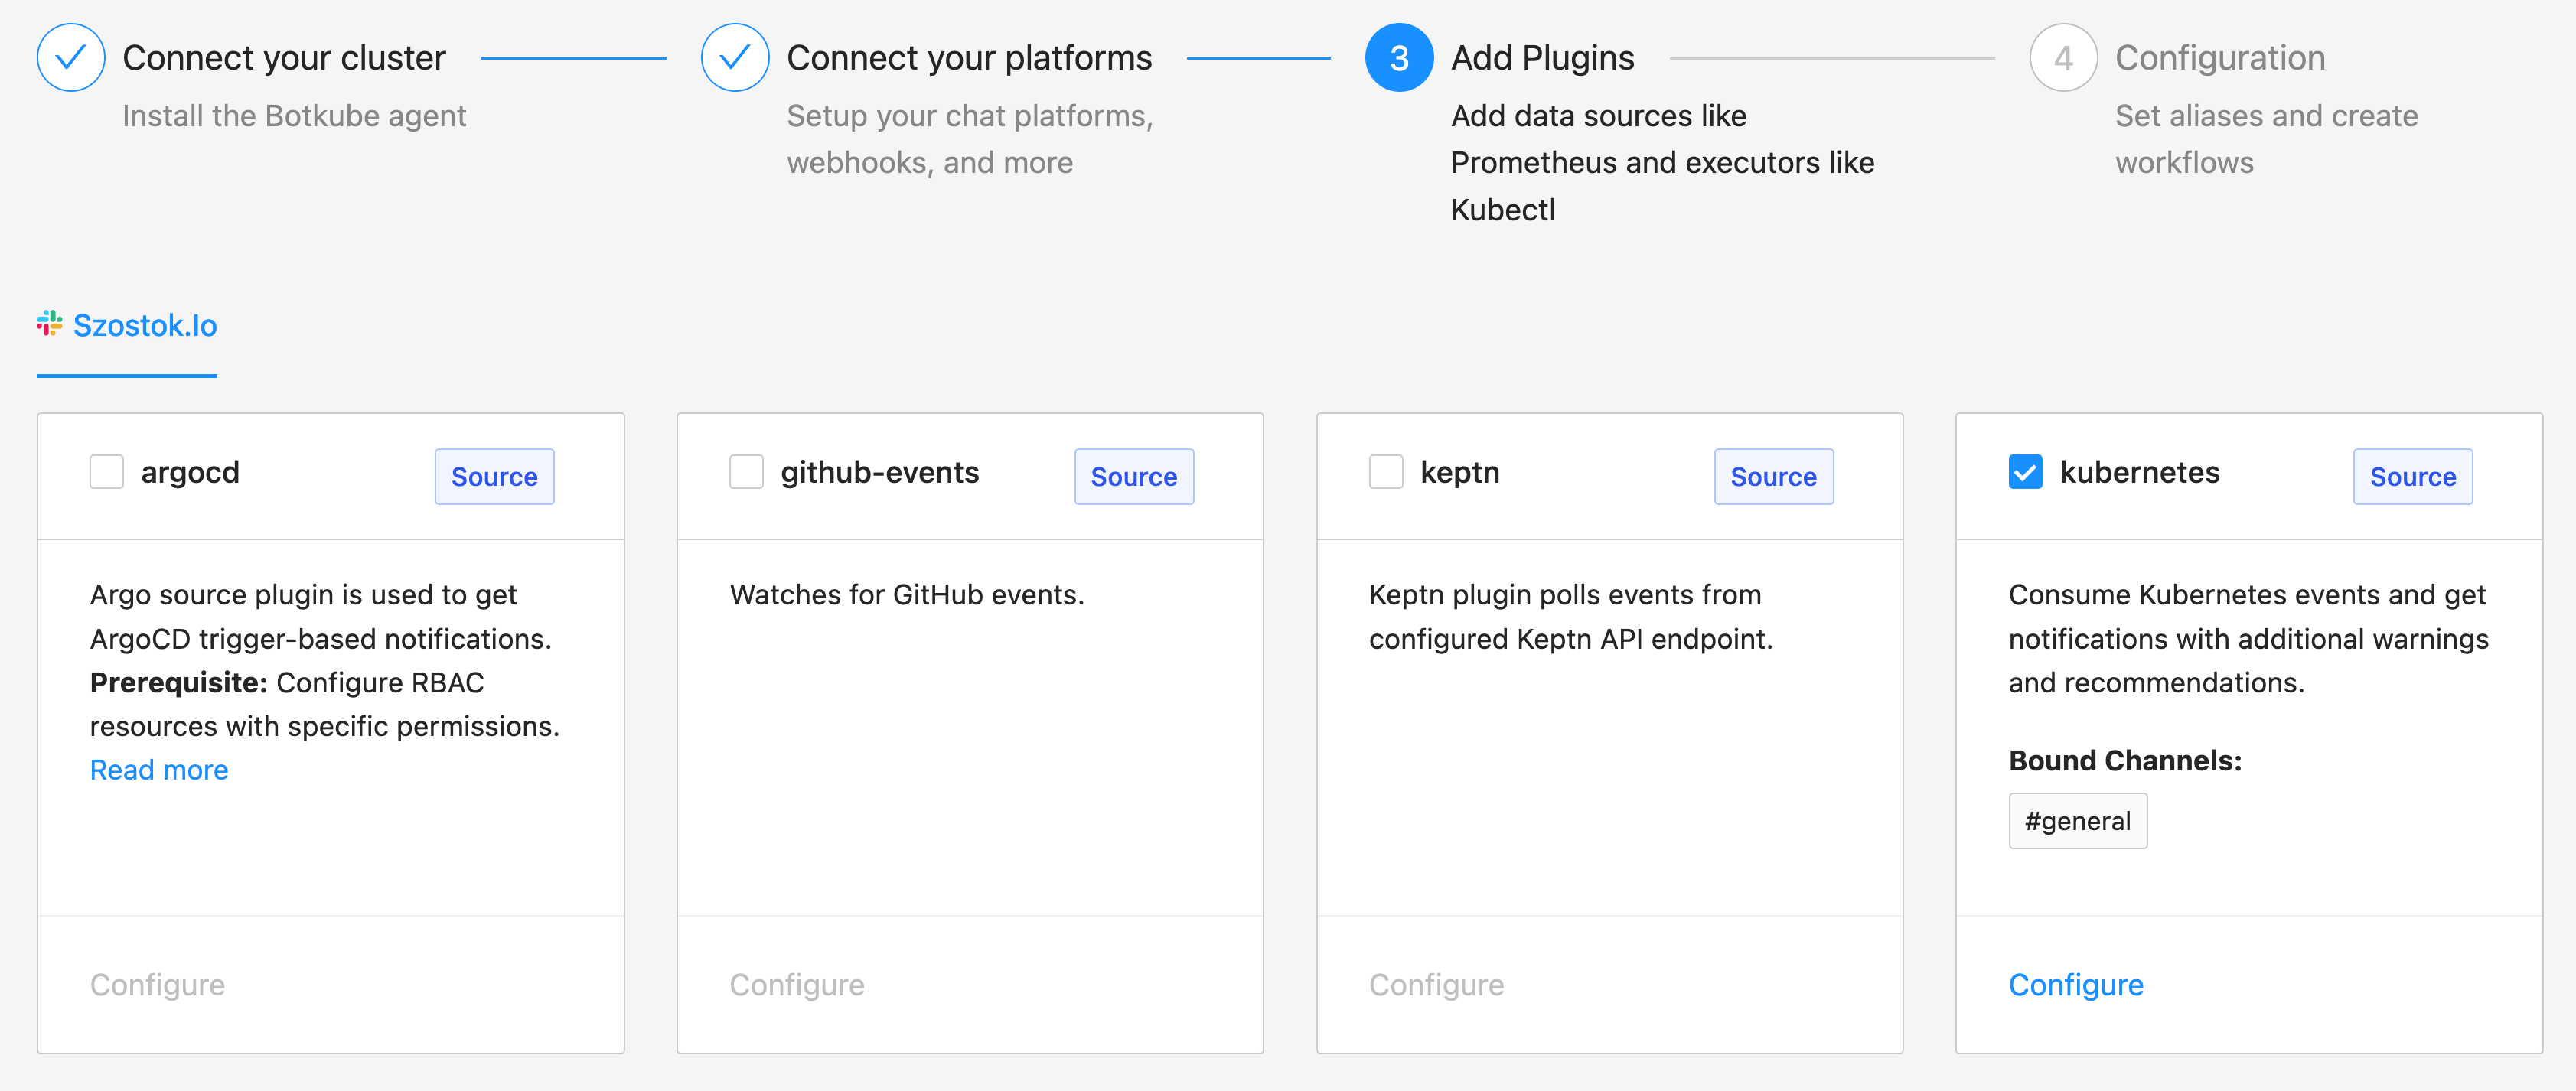
Include optional default command aliases and actions and click
Apply Changesbutton to update Botkube Cloud instance.
Using Botkube Cloud App for Slack
You can start using Botkube Cloud App for Slack by typing @Botkube cloud help in the Slack channel you configured in one of the previous steps.
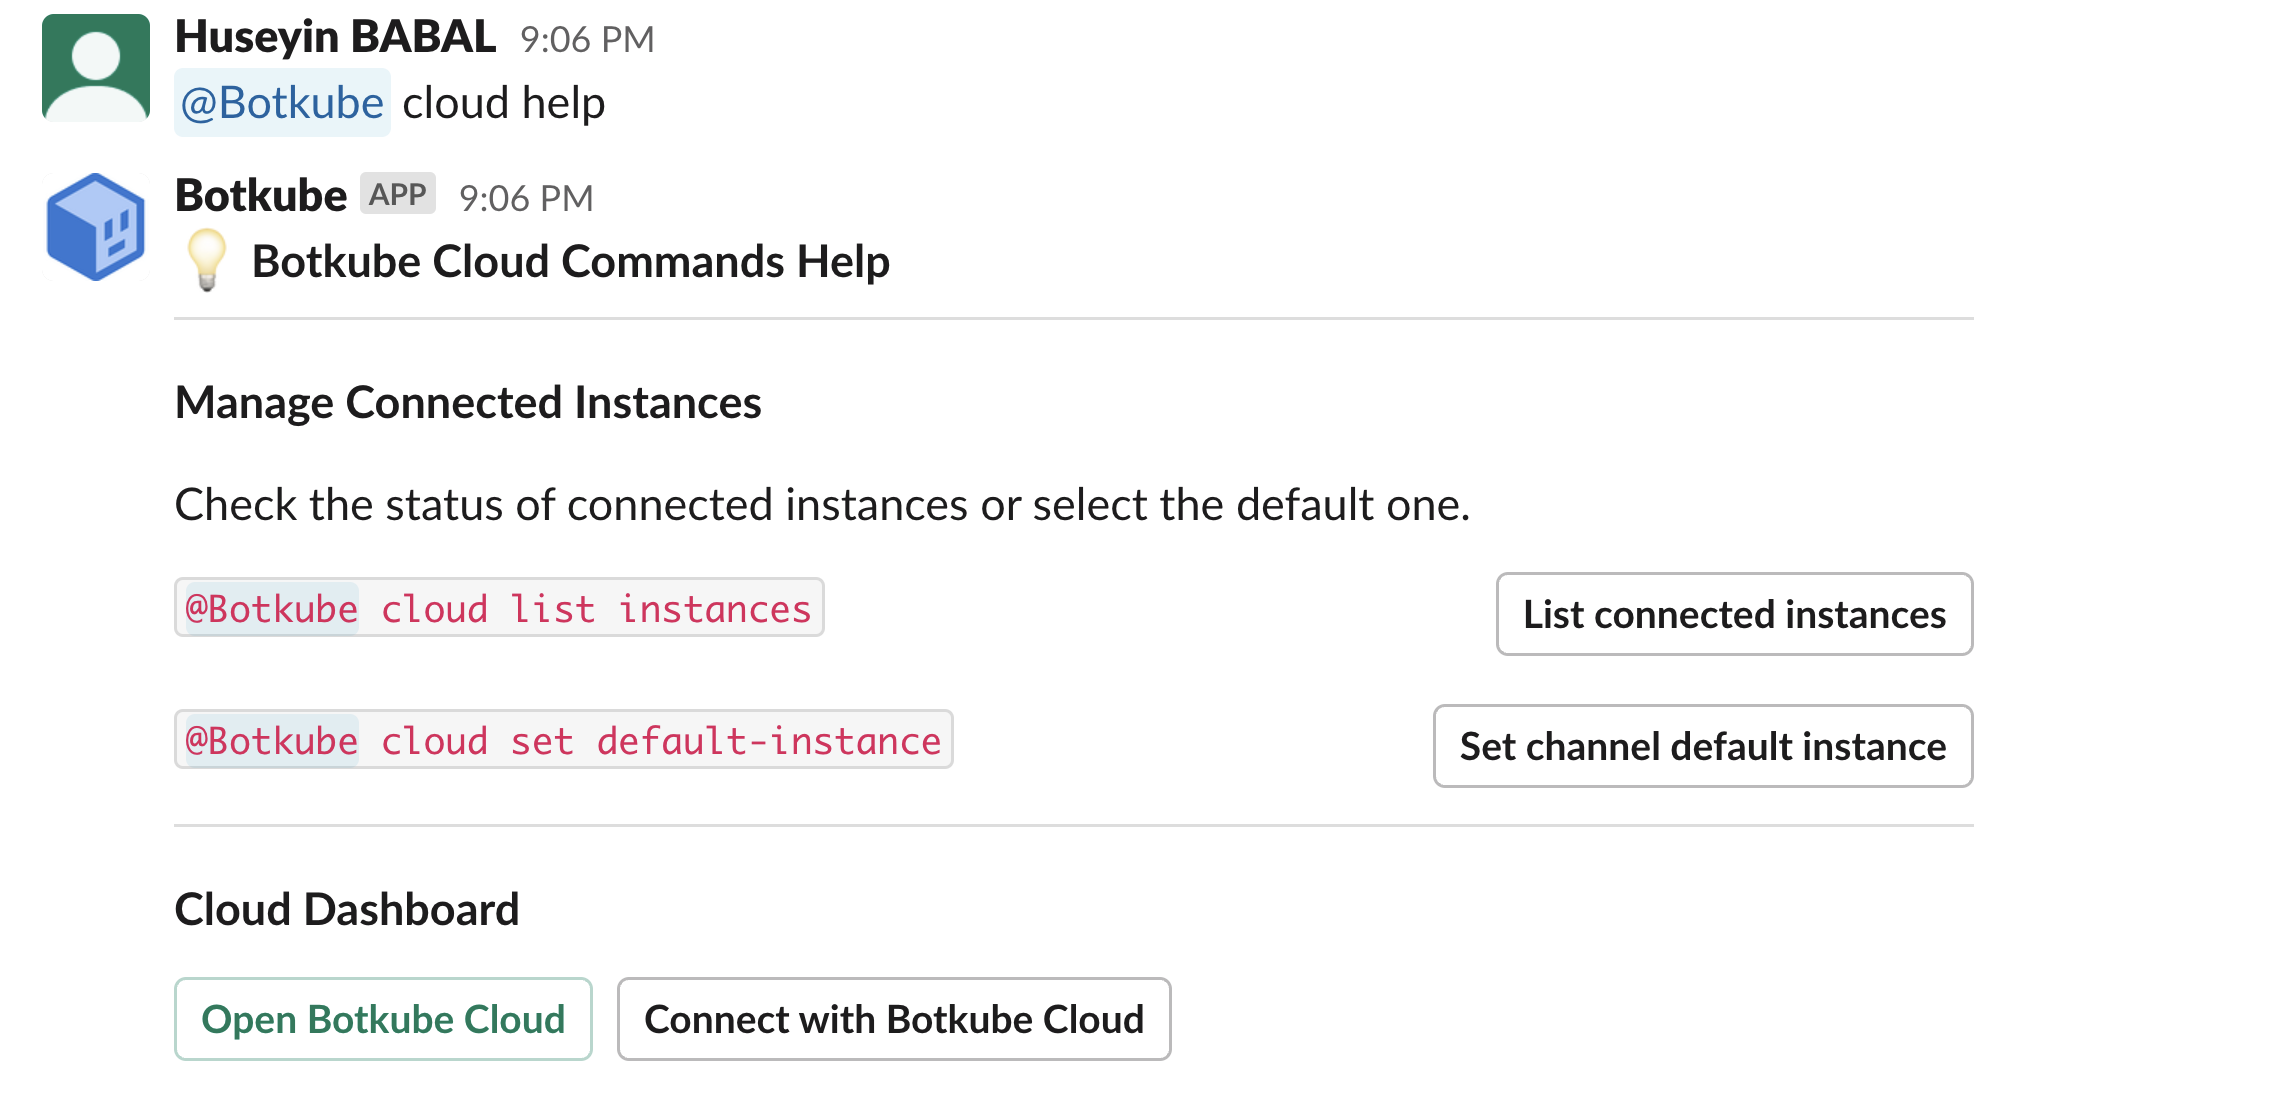
Listing Cloud Instances
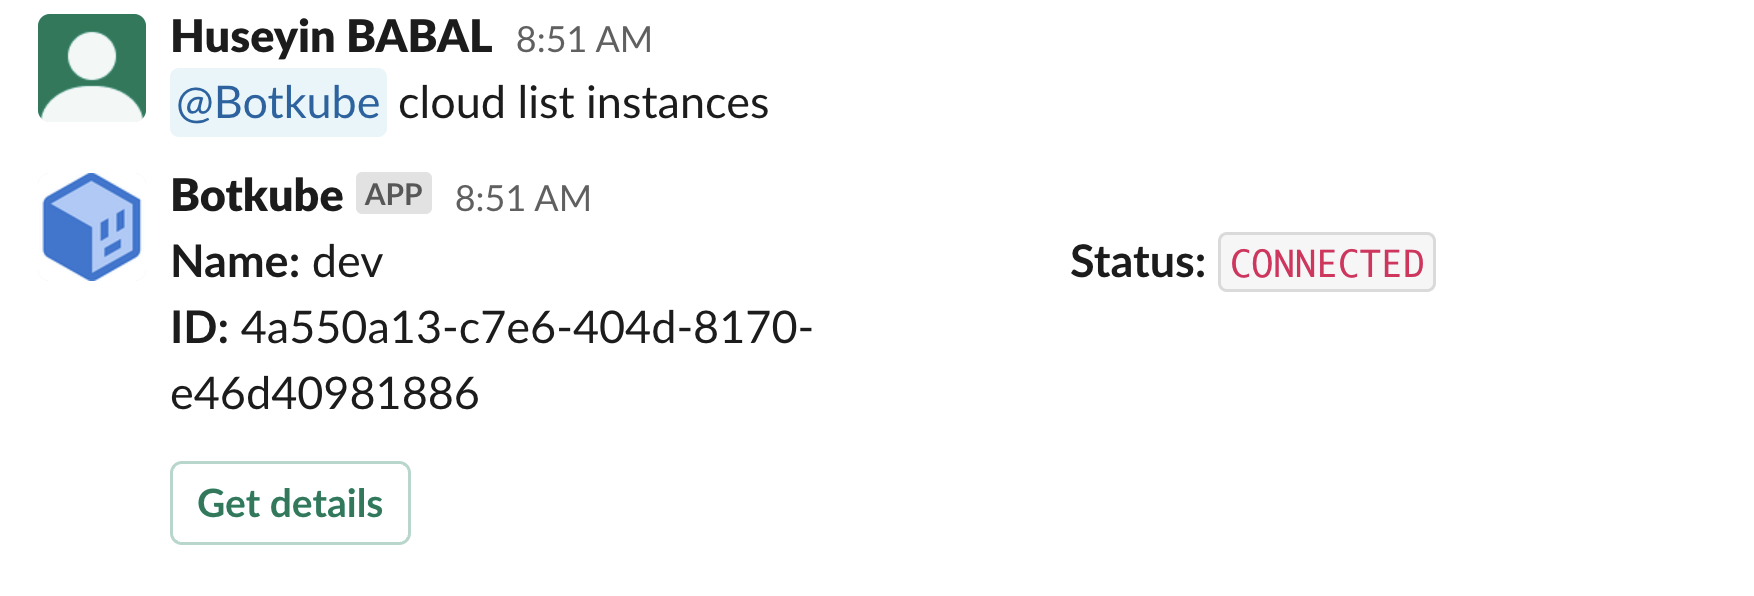
You can list all the Botkube Cloud instances by typing @Botkube cloud list instances in the Slack channel, or click the button List connected instances in the help command response.
Besides the instance name, ID, and status in the list response, you can also click the Get details button to go to instance details on Botkube Cloud Dashboard.
Setting Default Instances
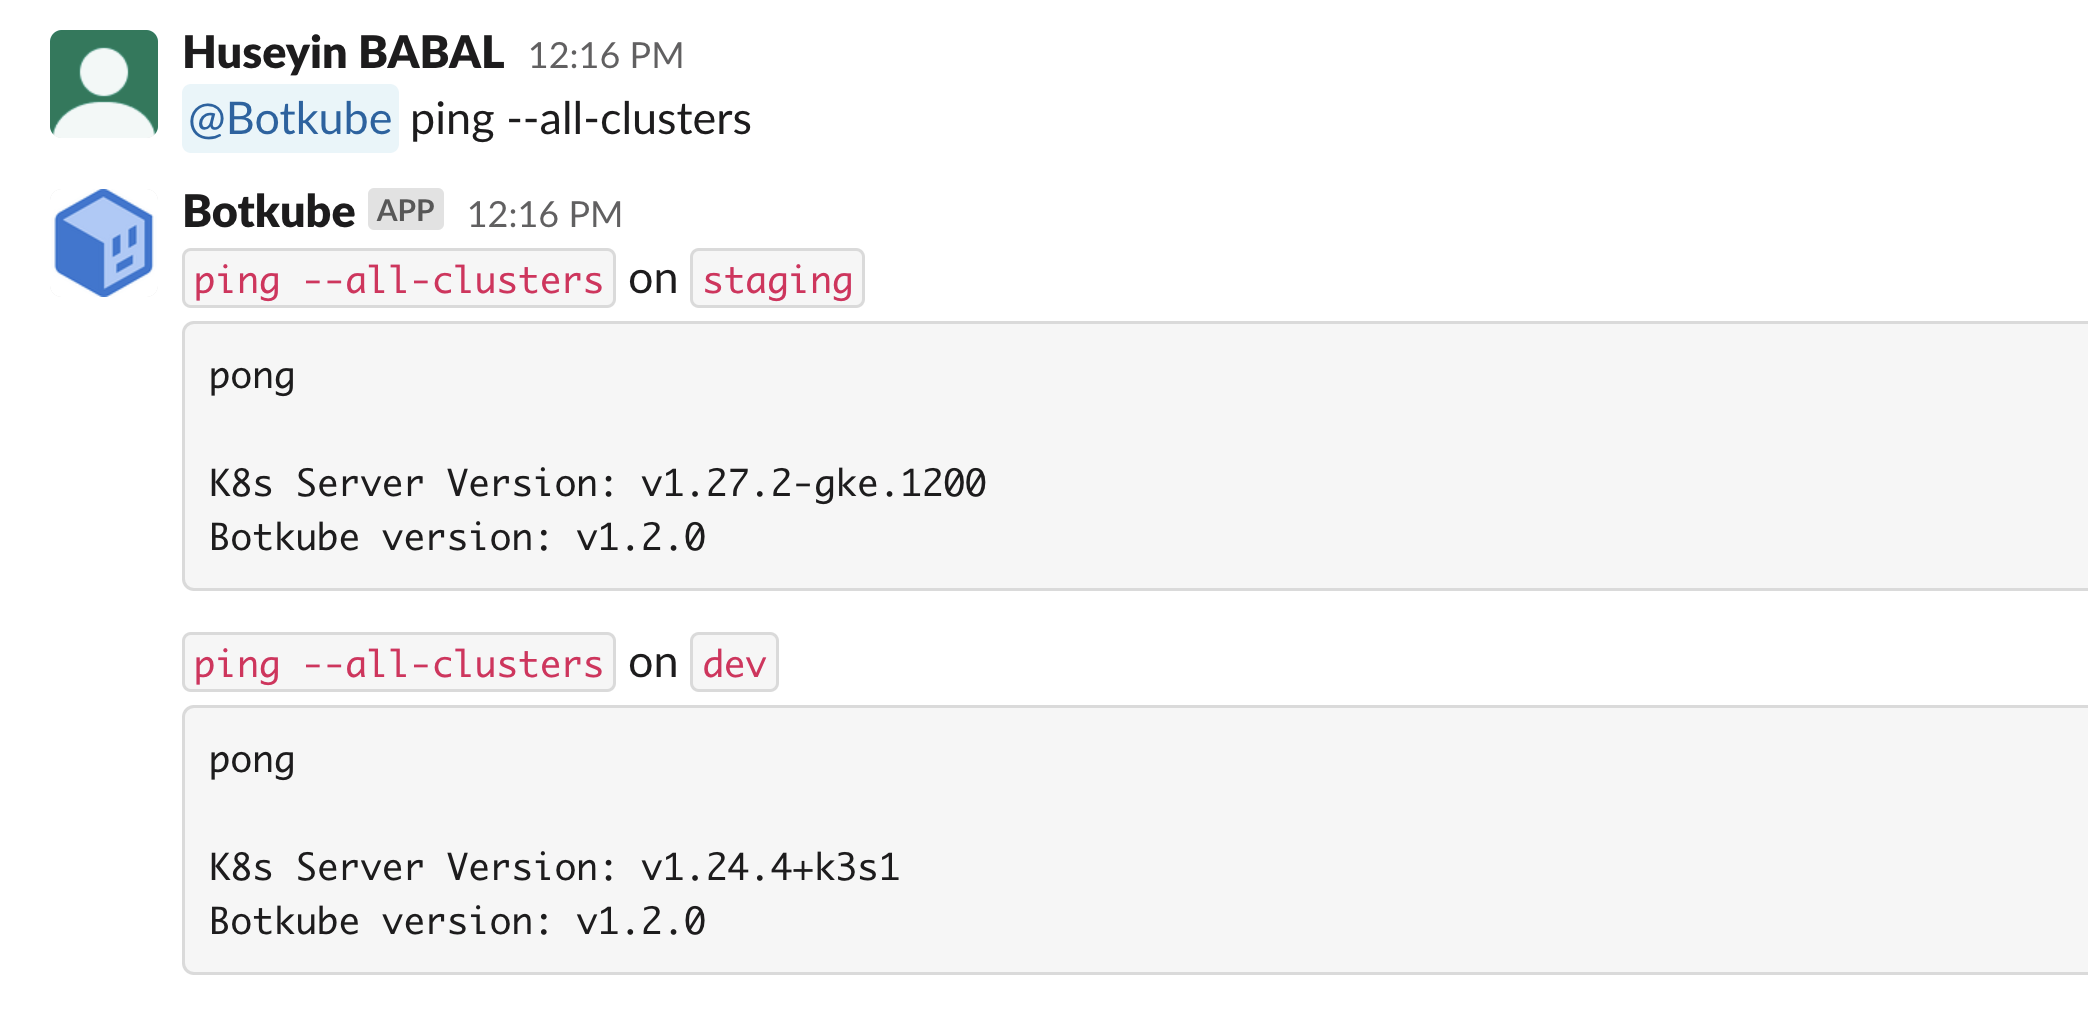
Once a Botkube command is executed, it will be handled on target Kubernetes cluster specified with --cluster-name flag. This is an optional flag,
where if you have not specified it, Botkube Cloud will select the first instance. However, you can also achieve setting default instance with command @Botkube cloud set default-instance {instance-id}.

After this point, all of your commands will be executed on the default instance. Moreover, if you want to execute a command on all the target clusters, you can use --all-clusters flag.
Setting Public Alias for Private Channels
In order to maintain your confidentiality while using Botkube's plugins, you need to create a public alias for your private Slack channels. This alias will only be visible to Botkube Cloud administrators.
During the Botkube Invitation to Private Channels
When you invite Botkube to a private channel, a prompt will appear to guide you through the process of creating a public alias.
For Existing Private Channels
To update an existing alias for a private channel, or if Botkube is already integrated, simply use this command:
@Botkube cloud set channel-alias <your-public-alias-name>
Cleanup
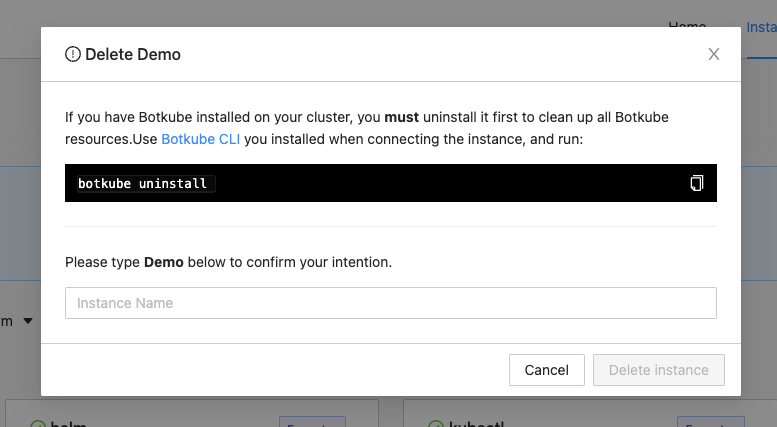
Go to Botkube Cloud instances page and click
Managebutton of the instance you want to remove.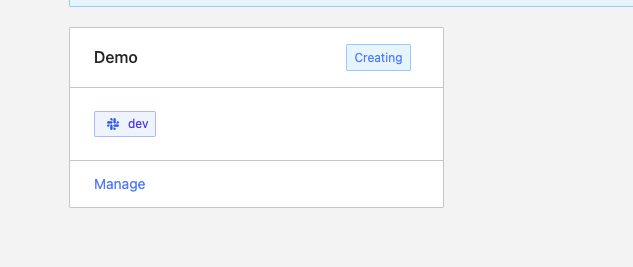
Click
Delete instancebutton, type instance name in the popup and clickDelete instance.cautionRemember to execute the displayed command to completely remove Botkube and related resources from your cluster.
